Incorporating activated charcoal into your orchid care routine is simple and effective. Here’s a step-by-step guide:
Step 1: Gather your materials
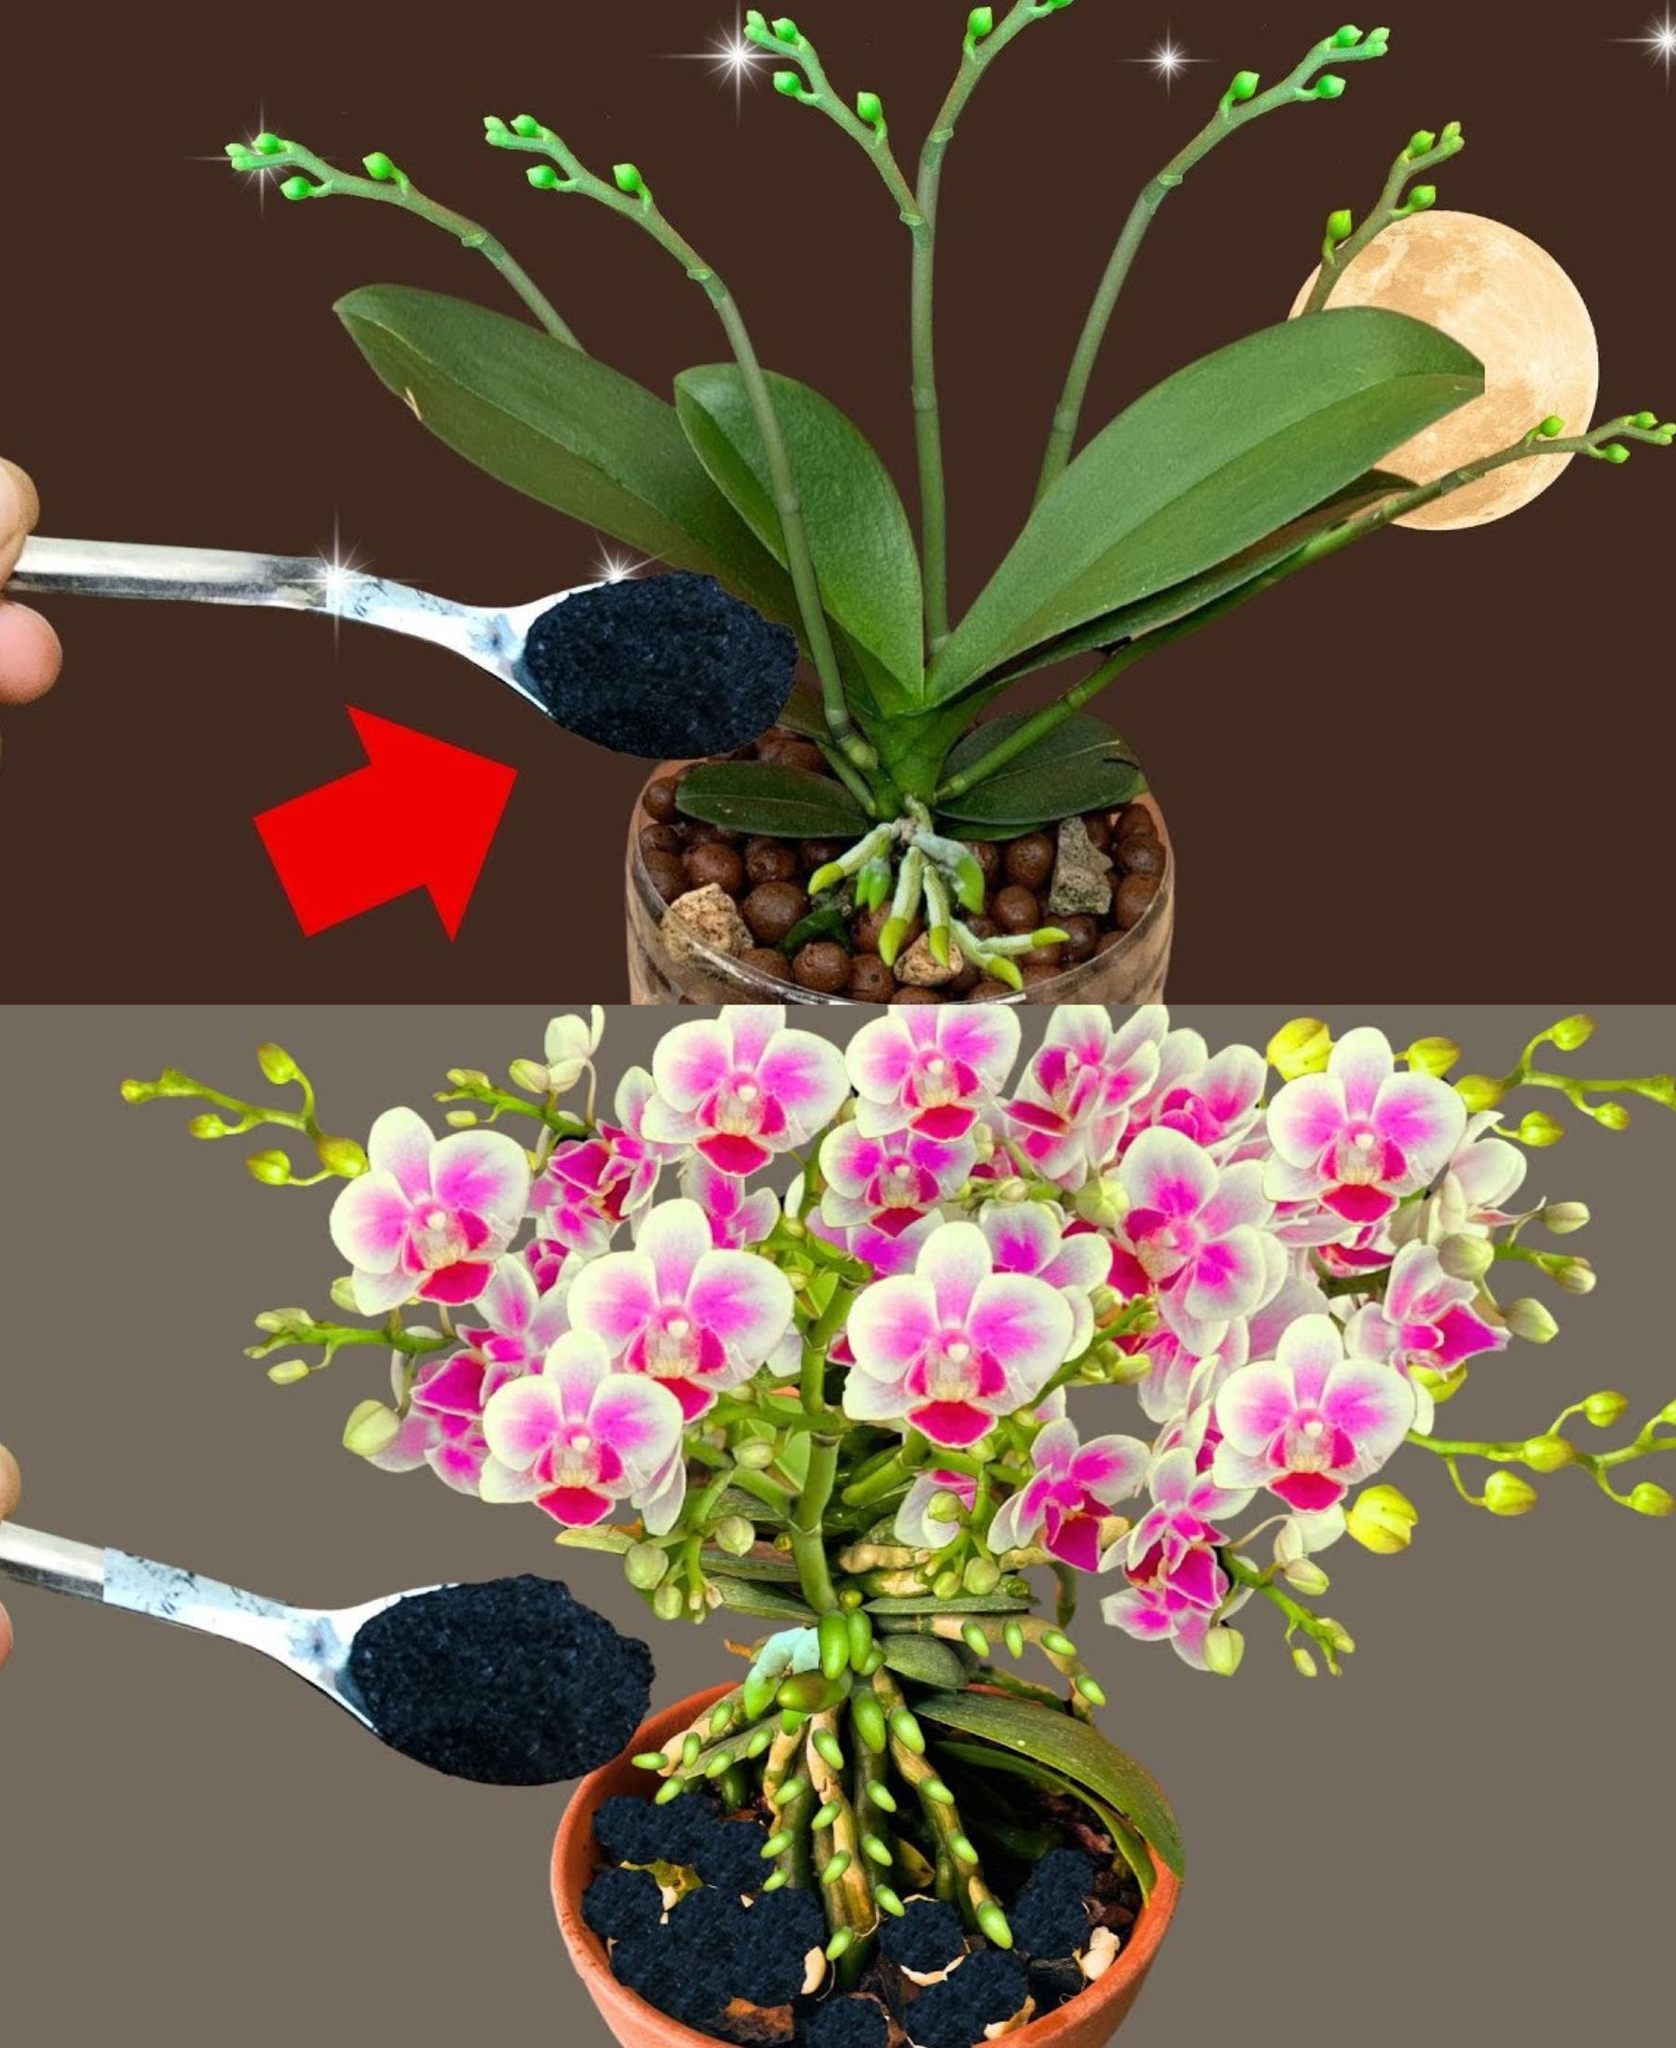
- Activated charcoal (available at garden centers or online)
- Orchid pot (especially for orchids)
- Orchid plant (preferably in a pot)
- Water
Step 2: Prepare the potting mix
- Mixing : Mix your orchid potting mix with activated charcoal in a bowl. A good ratio is about 1 part charcoal to 4 parts potting mix. This ensures that the benefits of the charcoal are distributed throughout the medium.
- Moisten the mixture : Lightly moisten the planting mixture with water to help it hold together better when planting.
Step 3: Repot your orchid
- Remove the orchid : Carefully remove your orchid from the pot, being careful not to damage the roots.
- Inspect the roots : Check for any dead or rotting roots and trim them away with sterilized scissors.
- Planting : Place the orchid in a new pot and fill the pot around the roots with the charcoal-enriched potting mix. Make sure the roots are spread out and not pinched.
Step 4: Water and care
- Watering : Water the orchid thoroughly after repotting. Let excess water drain out of the pot.
- Care routine : Continue to care for your orchid as usual and maintain the correct light, humidity and fertilization schedule.
For the complete cooking steps, please go to the next page or open the button (>) and don’t forget to SHARE with your Facebook friends.
