Extend the tape to your endpoint, keeping it taut and straight, then read the measurement where the tape enters the box, making sure that the thickness of the hook is automatically taken into account.
4. Measure the inside dimensions (pull out the tip)
For interior measurements (e.g., the distance between two walls or the depth of a drawer), place the tip against one side of the space.
Pull gently on the tape so that the tip slides outwards and extends fully and rests evenly against the surface, effectively increasing the thickness of the reading.
Extend the tape measure to the opposite side, press the protective film against the other surface, and note the measurement. Add the length of the protective film (usually indicated on the side, for example, 76 mm) for optimal accuracy.
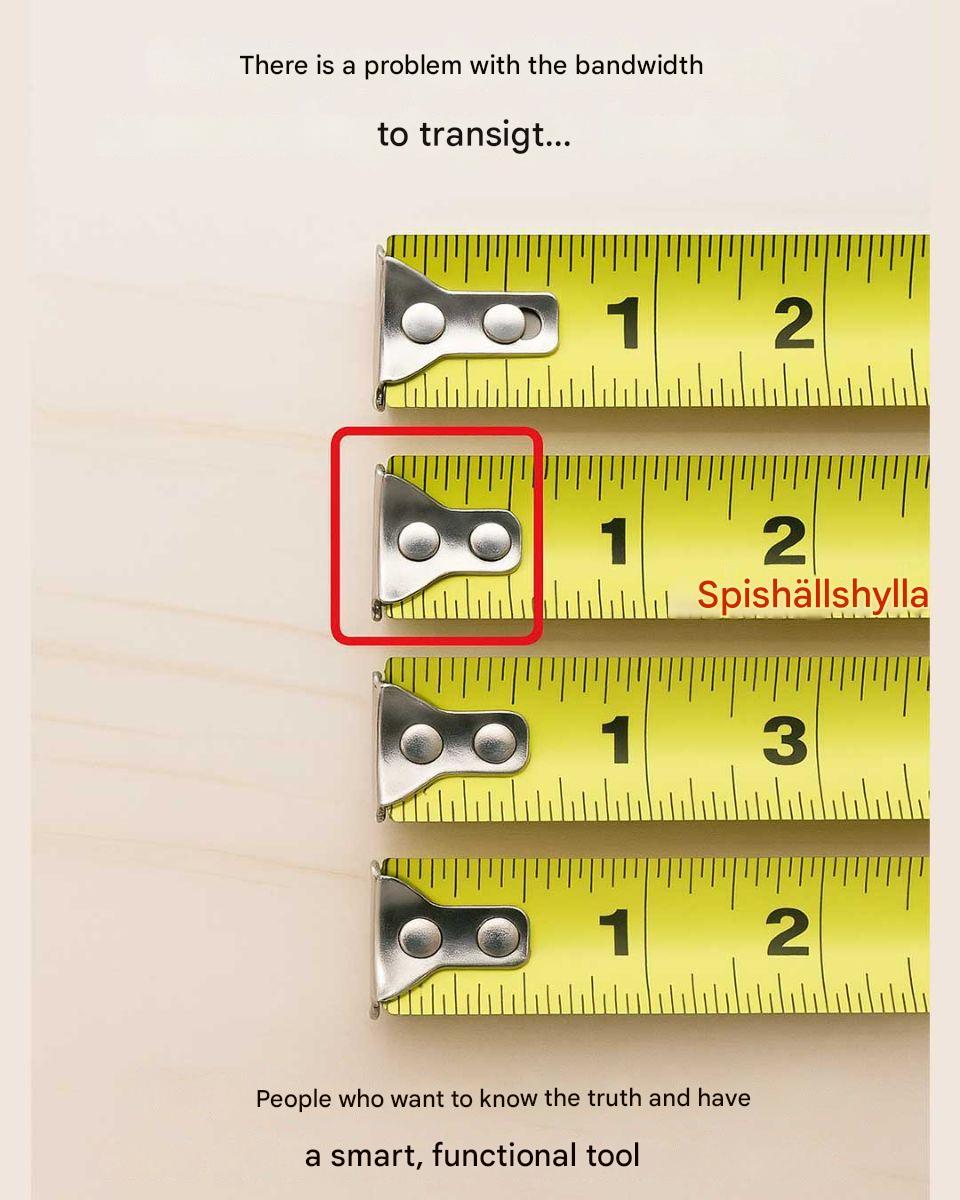
5. Check the positioning of the tip and the alignment of the strip
Check that the tip is correctly pushed or pulled depending on the type of measurement – pushed for outside, pulled for inside – to avoid errors due to incorrect play.
Ensure the tape is flat and not twisted or hanging, as this can distort the reading; use a second hand or a locking mechanism (if available) to hold it firmly.
For longer measurements (over 2 meters), you may want to consider having a partner hold the tip or using a nail/screw to fix it temporarily.
6. Check and maintain the belt regularly
After each use, inspect the free tip for any bends, cracks or excessive wear, as damage can prevent it from gliding properly and impair accuracy.
Check the rivets that secure the tip to the tape. If they are loose or missing, the tip may come loose or be misaligned; replace the tape if this happens.
continued on the next page
