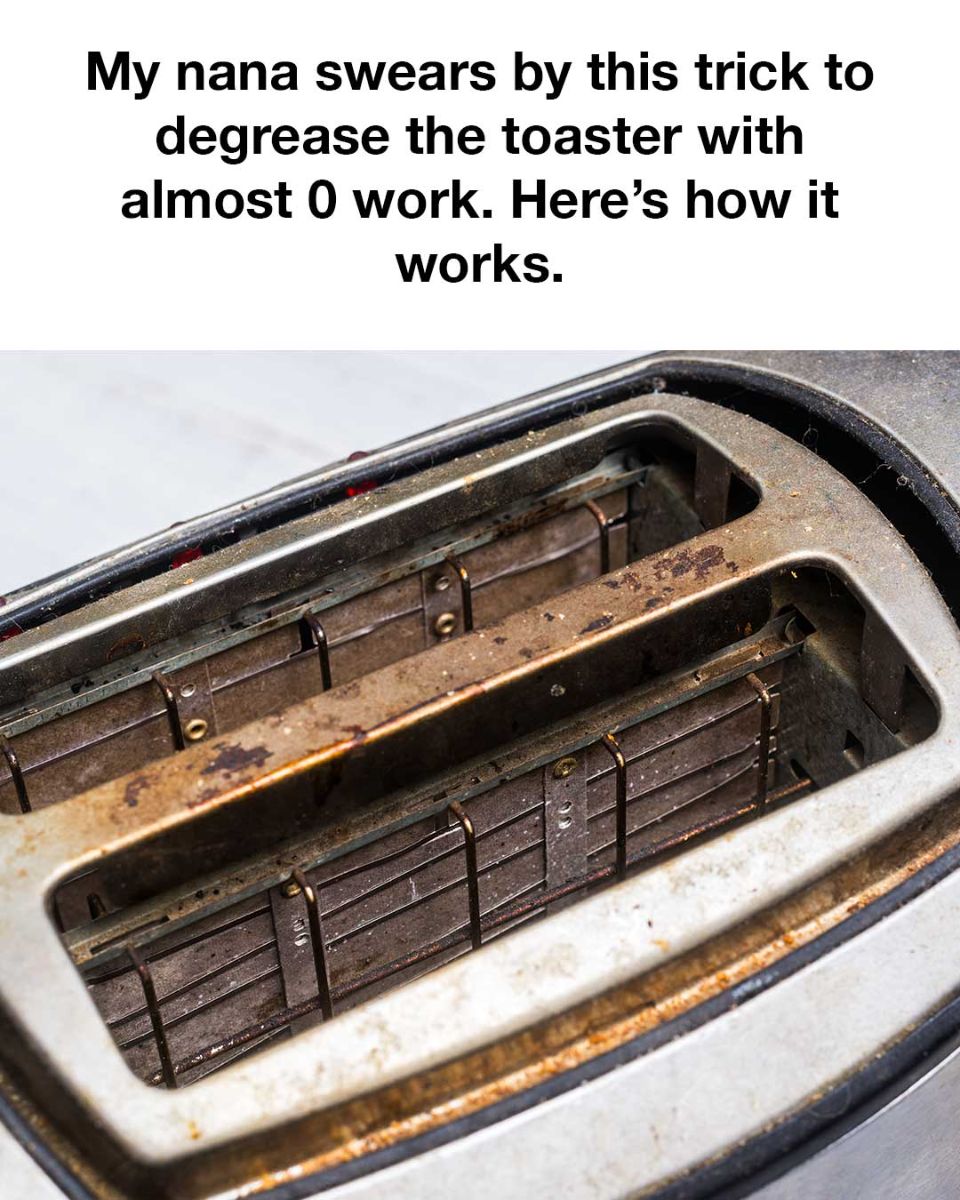
Cleaning a greasy toaster sounds like a chore nobody wants to tackle… until you see the trick one woman learned from her nana that makes it almost effortless. If your toaster looks grimy, stained, or just tired from years of breakfasts, this classic kitchen hack will help you restore it to near brand-new condition without heavy scrubbing or chemical cleaners.
The secret? Two inexpensive, everyday ingredients you probably already have in your pantry: white vinegar and baking soda. This dynamic duo works together to dissolve grease, lift baked-on grime, and cut through stubborn residue faster than traditional cleaning sprays — all while being safe and non-toxic.
What You’ll Need
White vinegar
Baking soda
Warm water
Soft cloth or sponge
Old toothbrush or cotton swabs
Bowl or cup for mixing
Microfiber cloth for polishing
Step-by-Step Toaster Degreasing Method
1. Unplug and Prepare
Always start by unplugging your toaster and making sure it’s completely cool. This keeps you safe and protects the internal electrical parts while you clean. Remove the crumb tray and any removable racks or trays. Turn the toaster upside down and tap gently over a trash bin or sink to shake out loose crumbs.
2. Mix Your Cleaning Solution
In a small bowl, mix equal parts white vinegar and warm water. This simple solution dissolves grease quickly. The acidity of the vinegar breaks down oily residue while still being gentle on metal surfaces.
3. Degrease the Exterior
Dip a soft cloth or sponge into the vinegar mixture, then wring it out so it’s damp but not dripping. Gently wipe down the outside of the toaster, focusing on sticky grease spots and oily fingerprints. For tougher patches, dip the cloth in a little baking soda and rub lightly — the baking soda acts as a mild abrasive that helps lift grime without scratching surfaces.
4. Clean Nooks and Crannies
Grease and crumbs tend to hide around buttons, knobs, and grooves. For these tight areas, use an old toothbrush or a cotton swab dipped in the vinegar solution to scrub gently. Your nana’s tip: work slowly and don’t force anything near electrical components.
5. Soak Removable Parts
Take the crumb tray and any racks you removed earlier and soak them in warm water with a splash of vinegar for about 10–15 minutes. This loosens grease and stuck-on crumbs. After soaking, sprinkle a bit of baking soda on them and scrub lightly, then rinse and dry thoroughly.
6. Rinse and Dry
Once the grease is gone, wipe the toaster all over with a clean damp cloth to remove any leftover vinegar or baking soda residue. Then use a microfiber cloth to polish the exterior and give it a streak-free shine.
7. Reassemble and Enjoy
Let all parts dry completely—especially the inside and the removable trays—before plugging the toaster back in. Moisture and electricity don’t mix, so patience here ensures safety and a long-lasting clean.
Why This Trick Works So Well
The combination of vinegar and baking soda isn’t just old-fashioned — it’s scientifically effective. Vinegar’s natural acidity helps dissolve grease, while baking soda’s gentle abrasive properties lift residue without harsh chemicals. When used together, they create subtle bubbling action that helps dislodge stuck-on grime in hard-to-reach corners.
Even better: this method avoids toxic store-bought degreasers, making it safer around other kitchen tools and surfaces — especially where food is prepared.
Final Thoughts
When the grease and crumbs start to build up in your toaster, you don’t need heavy cleaners or a full deep-scrub session. With this simple, affordable trick passed down from grandma’s kitchen wisdom, you’ll have your appliance looking fresh and clean again with minimal effort.
Try it next time you notice stains or residue — it just might become your new favorite kitchen hack.
