Step 1: Prepare your greens
First of all, it’s important to rinse your greens well. Even pre-washed greens can contain dirt, pesticides, or bacteria that can reduce their shelf life.
Wash your greens thoroughly under cold water to remove any dirt or chemical residue.
Dry them completely. This is essential: any remaining moisture can accelerate deterioration. The best tool for this task is a salad spinner, as it removes water without damaging the leaves.
If you don’t have a salad spinner, place the greens on a clean kitchen towel or pat dry with paper towels. Make sure they are as dry as possible before moving on to the next step.
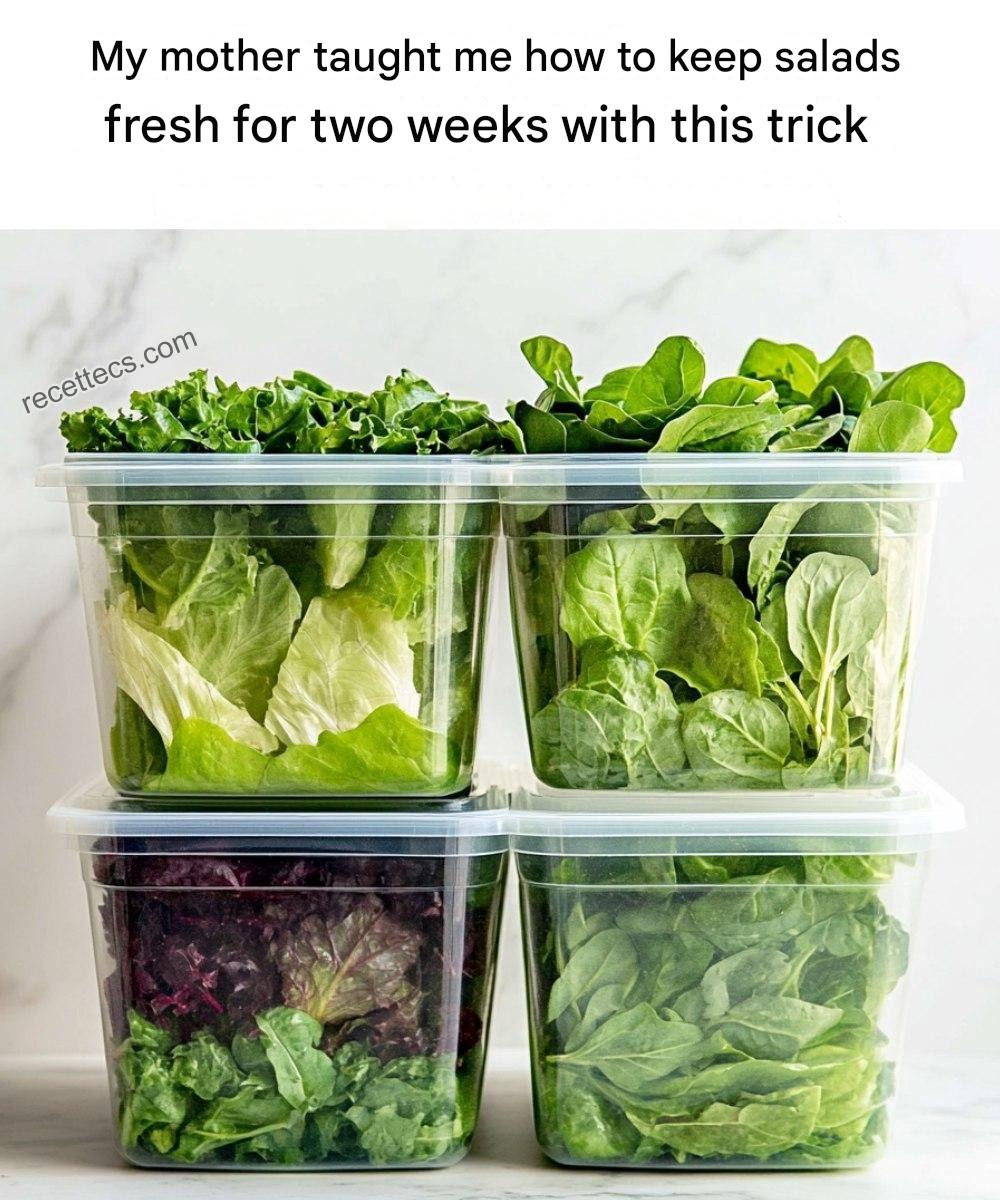
Step 2: Use the Right Storage
Container Choosing the right container is essential for keeping your greens fresh. You want a container that’s large enough to hold your greens without crushing or compressing them, which can cause bruising. A large airtight container is the most suitable.
Cover the bottom of the container with paper towels. These towels will absorb excess moisture, preventing it from building up around the leaves. This small step makes a huge difference in extending the life of your salad.
If you’d rather avoid single-use paper towels, a reusable kitchen towel or dry tea towel will also do the trick.
Step 3: Layer the leaves for maximum
freshness Now it’s time to arrange your salad leaves inside the container.
Arrange the sheets loosely on the paper towels. Don’t pack them too tight: the leaves need a little air to stay crunchy.
Once you’ve added all of your sheets, place another layer of paper towels on top. This helps absorb extra moisture from the top.
Seal the container with its lid, making sure it is airtight. Properly closed containers slow down exposure to air, which prevents your leaves from wilting too soon.
Step 4: Store the fresh leaves in the fridge
Now that your leaves are safely stored, place the container in the fridge. The cooler temperature will slow down the natural decomposition of the leaves, which will help them stay fresh for longer.
